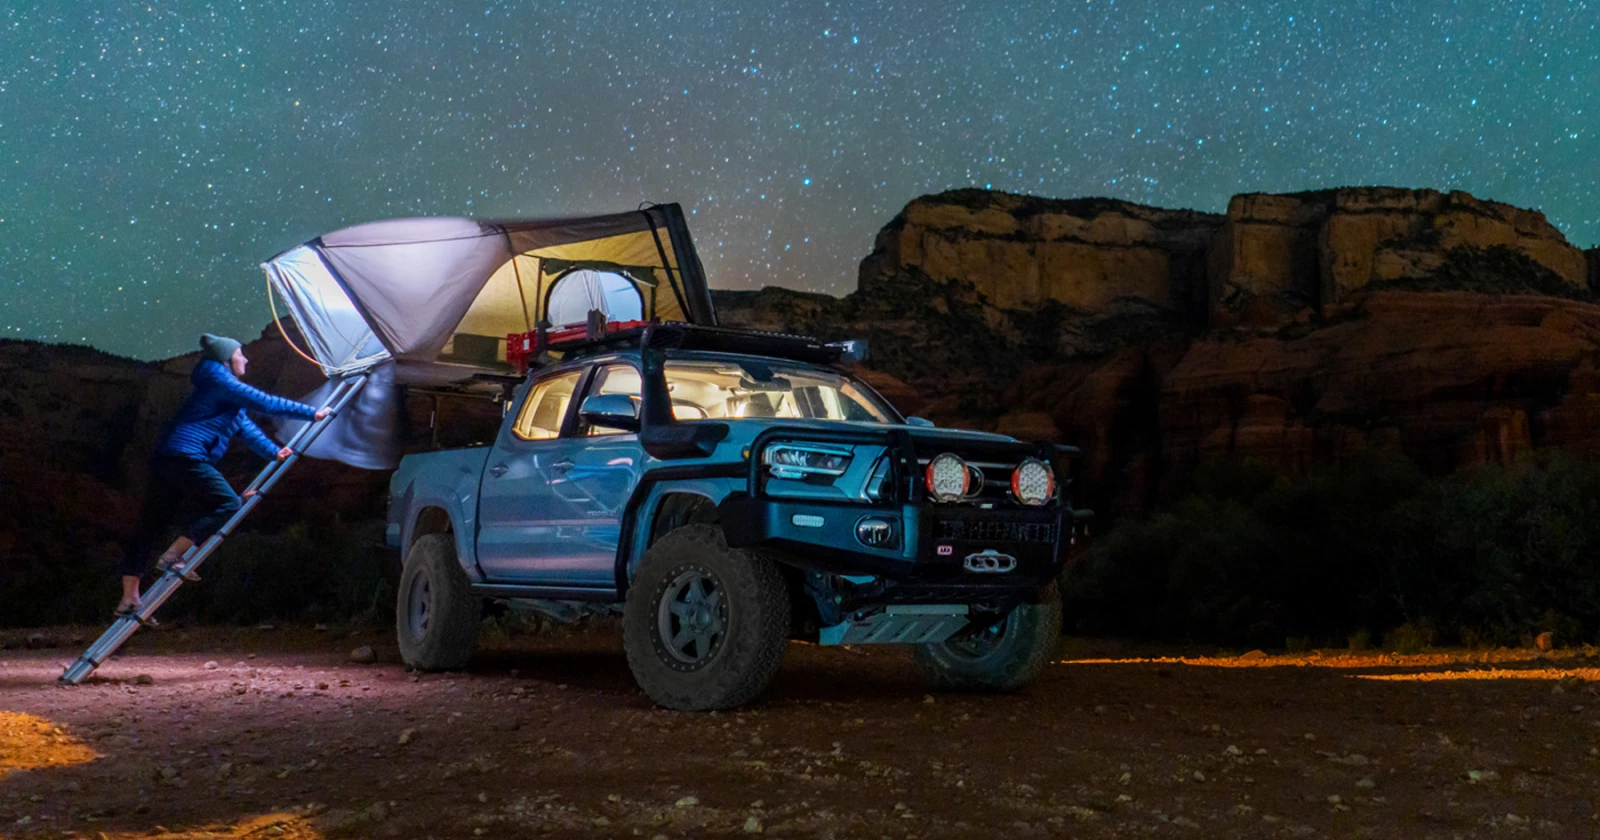
When off the beaten path, there are a vast amount of sleeping arrangements; most of which are extremely uncomfortable. Choosing which option is right for you can be a task. For many camping and overlanding enthusiasts, towing a trailer is not an option. And let’s face it, the terrain we encounter is rough and unstable; no one wants to sleep on that. This is why ARB’s rooftop tents have always been a hot commodity. You can find them mounted to the roof or bed of many types of vehicles. Rooftop tents are incredibly useful for adventure travel because…
They’re packed together and go wherever your rig goes without taking up useful space.
Can be used on any terrain. Unlike a ground tent, you don’t need to worry about the ground surface.
Your bed is well off the ground – away from water, insects, and animals.
They provide a generous amount of space with great climate control.
But one feature that sets apart the ARB Simpson III Rooftop Tent is the painless setup. Follow along with the step-by-step guide to get you ready for your next adventure.
PART 1
Begin by parking your vehicle on a level surface (1).
Step 1
Remove the travel cover from the tent. This can be done by releasing the six hook and loop straps (2) then unzipping around the three edges (3-4).
STEP 2-4
Lift the tent cover over the tent (5) and either rest the cover against the vehicle (6) or slide the remaining edge from the channel.
STEP 5-6
PART 2
Release the hold down hook and loop straps on each side of the tent (7).
STEP 7
Slide out the ladder until the locking pins engage then use the ladder as a lever to unfold the tent (8-9). Rest the ladder on the ground at an angle.
STEP 8-9
Slide out the veranda bow (11) and rotate the tube on both sides of the bow to lock it in position (12).
STEP 11-12
PART 3
Unzip the main tent window to access the inside of the tent (13).
STEP 13
Enter the tent and release the four elastic bungee cords from one side of the tent (14)
STEP 14
Extend and tighten the extendable bow inside the tent. Rotate the tube on both sides of the bow to lock it in position. (15)
STEP 15
PART 4
Retrieve the six tent window rods that are in the tan canvas bag. These will hold three flysheets open that cover the windows.
Insert the straight end of the rod into the slot on the tent base (16).
STEP 16
Bend and place the hook end of the rod into the hook on each corner of the flysheet (17).
STEP 17
There are vents above two of the windows; prop them open using the hook and loop support (18).
STEP 18
Slide the shoe pockets into the channel that is located on the front base (19).
STEP 19
Allow the tent to air out after each use to allow any moisture or condensation to dissipate.
STEP 20
Up Next:
ARB Premieres Next Generation of Rooftop Tents
Two rooftop tents joined the ARB overlanding lineup this summer; a hard shell option called the Esperance, and an airy counterpart...