

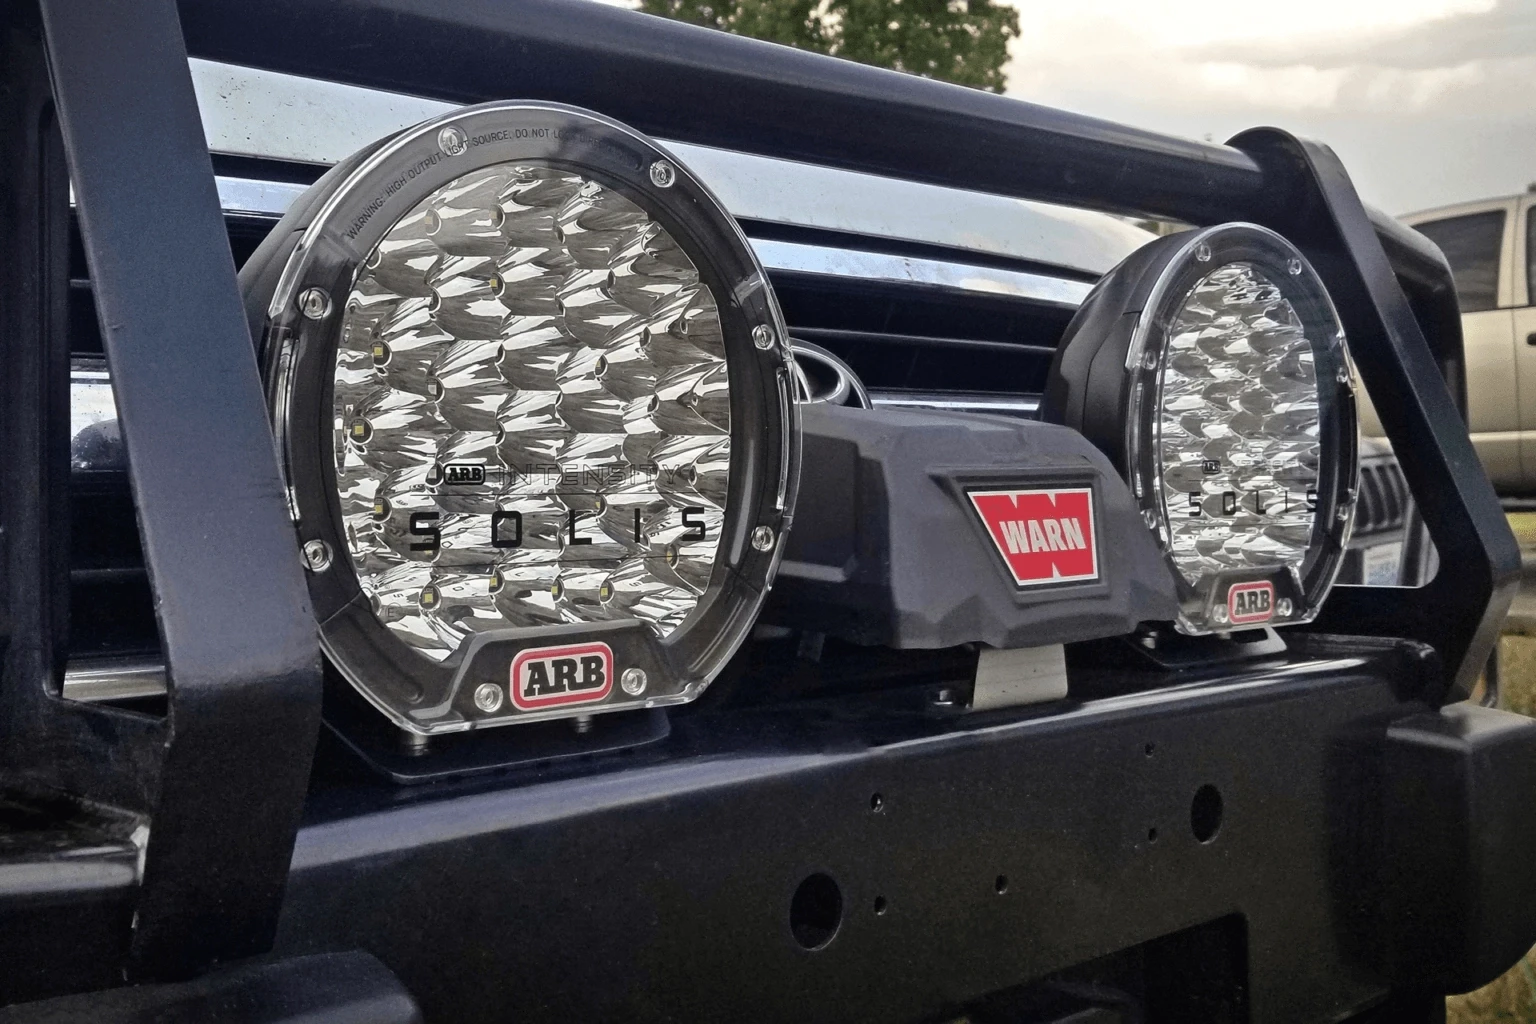
Intensity Solis lights from ARB feature improved output, range, and aesthetics, making them a valuable lighting upgrade. The following step-by-step guide documents basic installation on a Toyota 4Runner. Please refer to your ARB Intensity Solis manual for more detailed installation steps and information.

REQUIRED PARTS
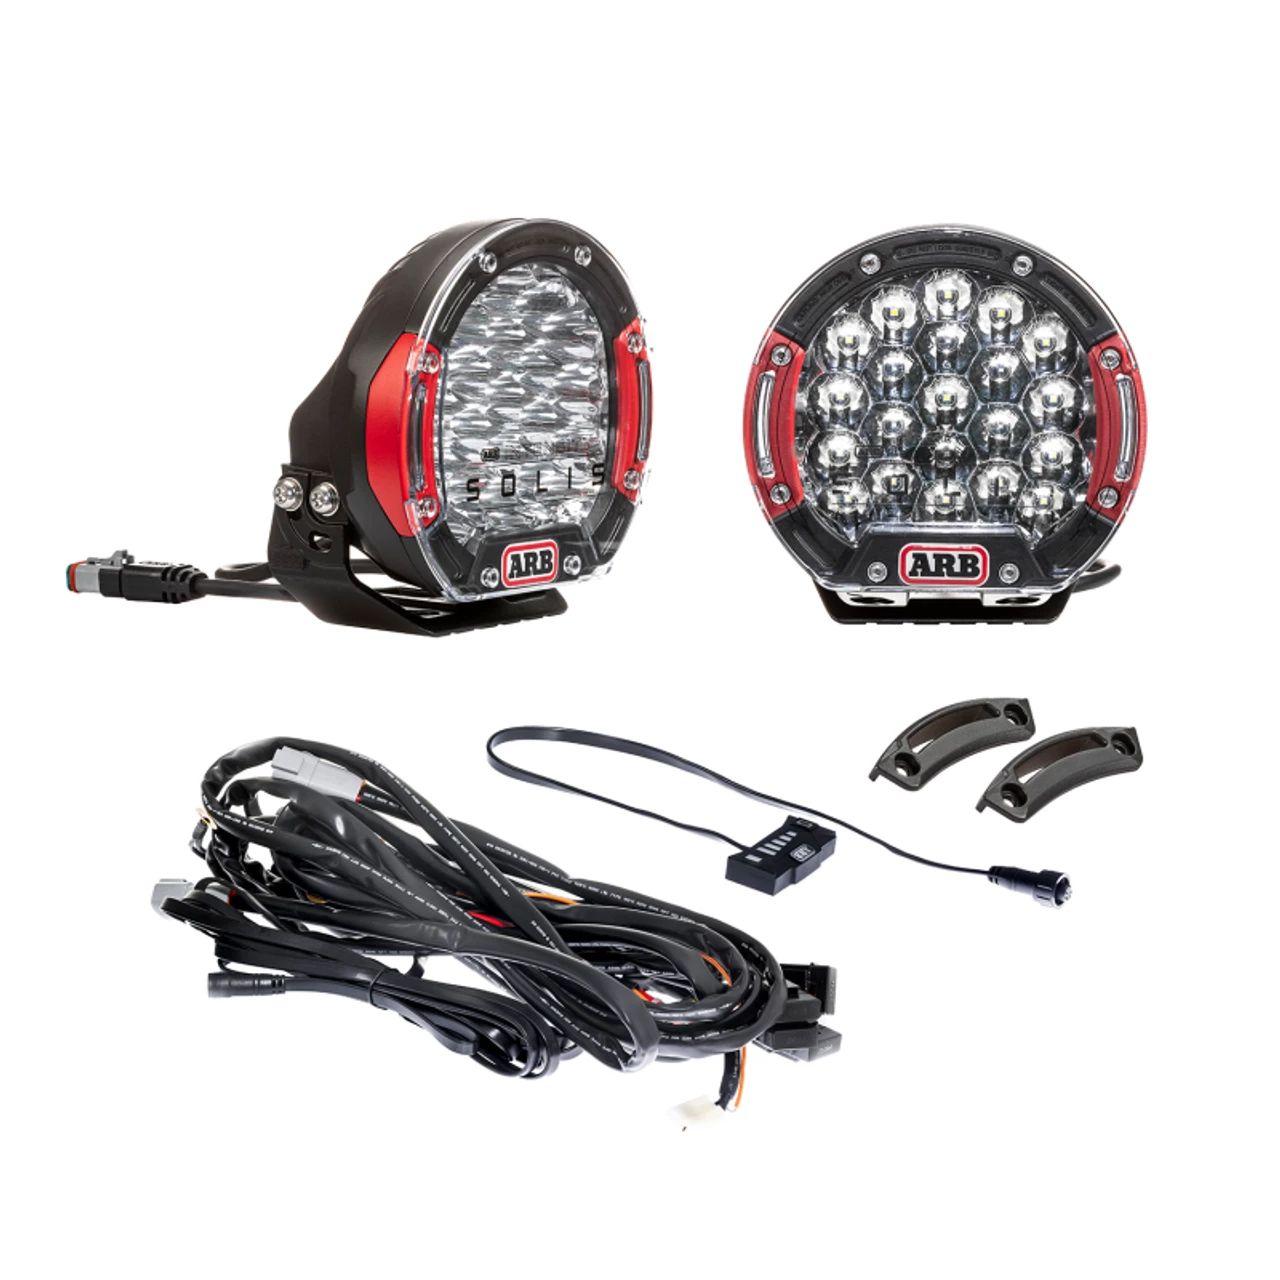
ARB INTENSITY SOLIS LIGHTS & HARNESS
RECOMMENDED TOOLS
Basic mechanics tool set
Wire cutters, strippers, and crimpers
Various wire and connectors
Soldering iron
Multimeter
Electrical tape
Cable ties
HOW TO WIRE
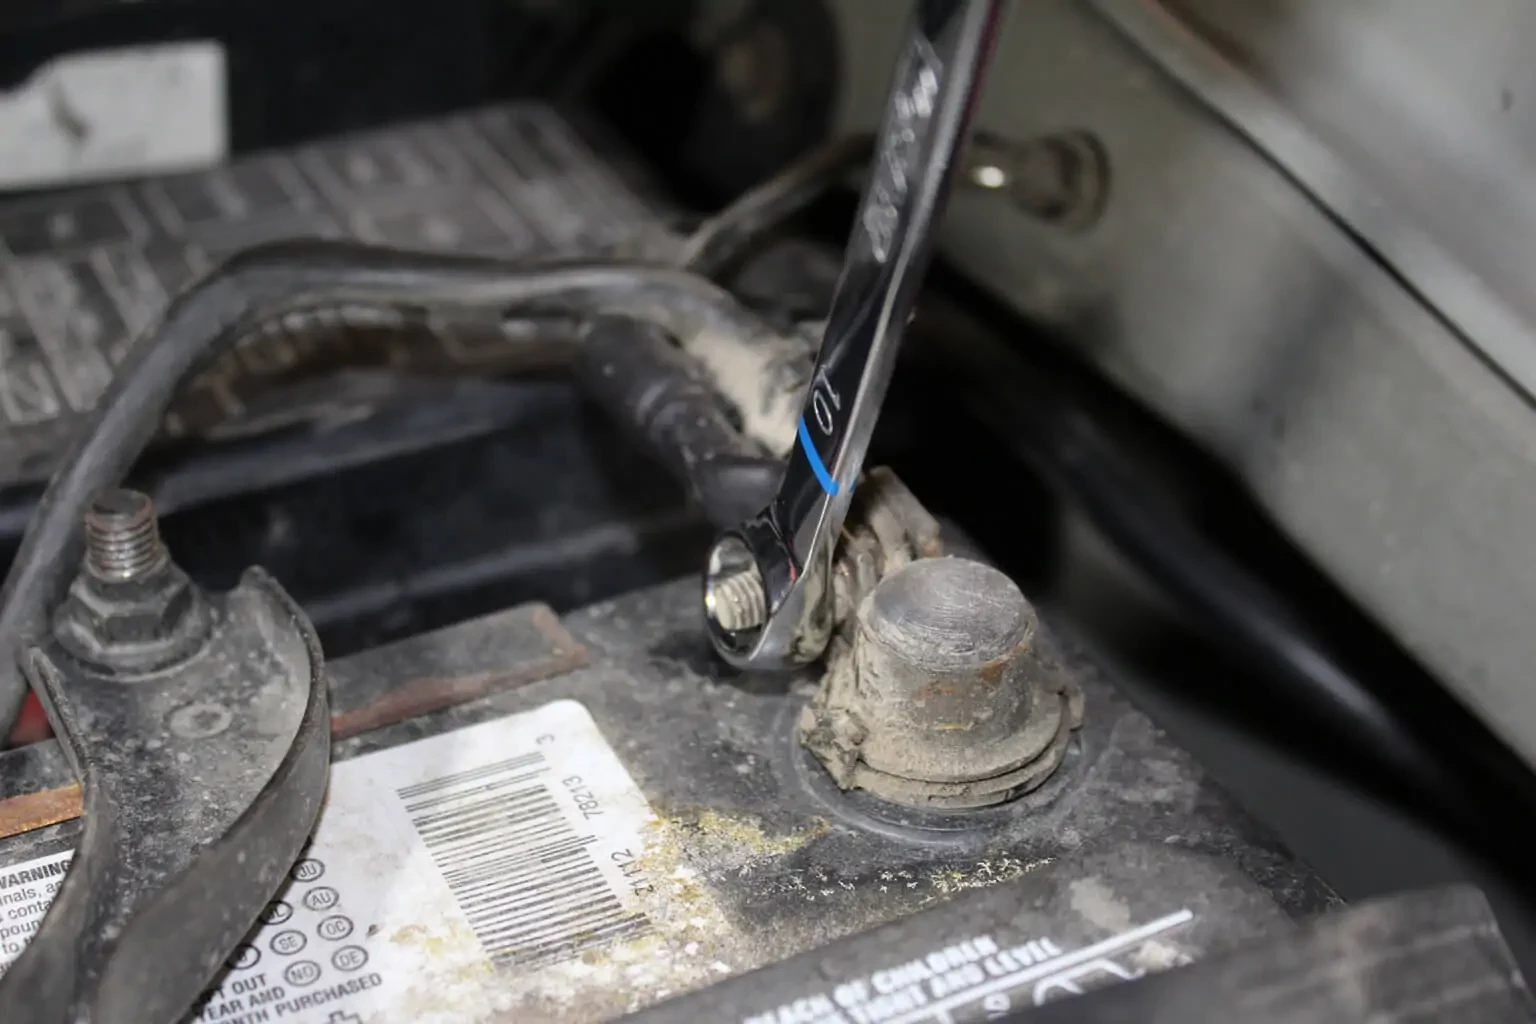
1.Remove the negative (-) cable from the battery.
2. Lay out the main harness in the engine bay and mount the four fuses in a convenient location. Please note, if required, the fuses can be stacked together.
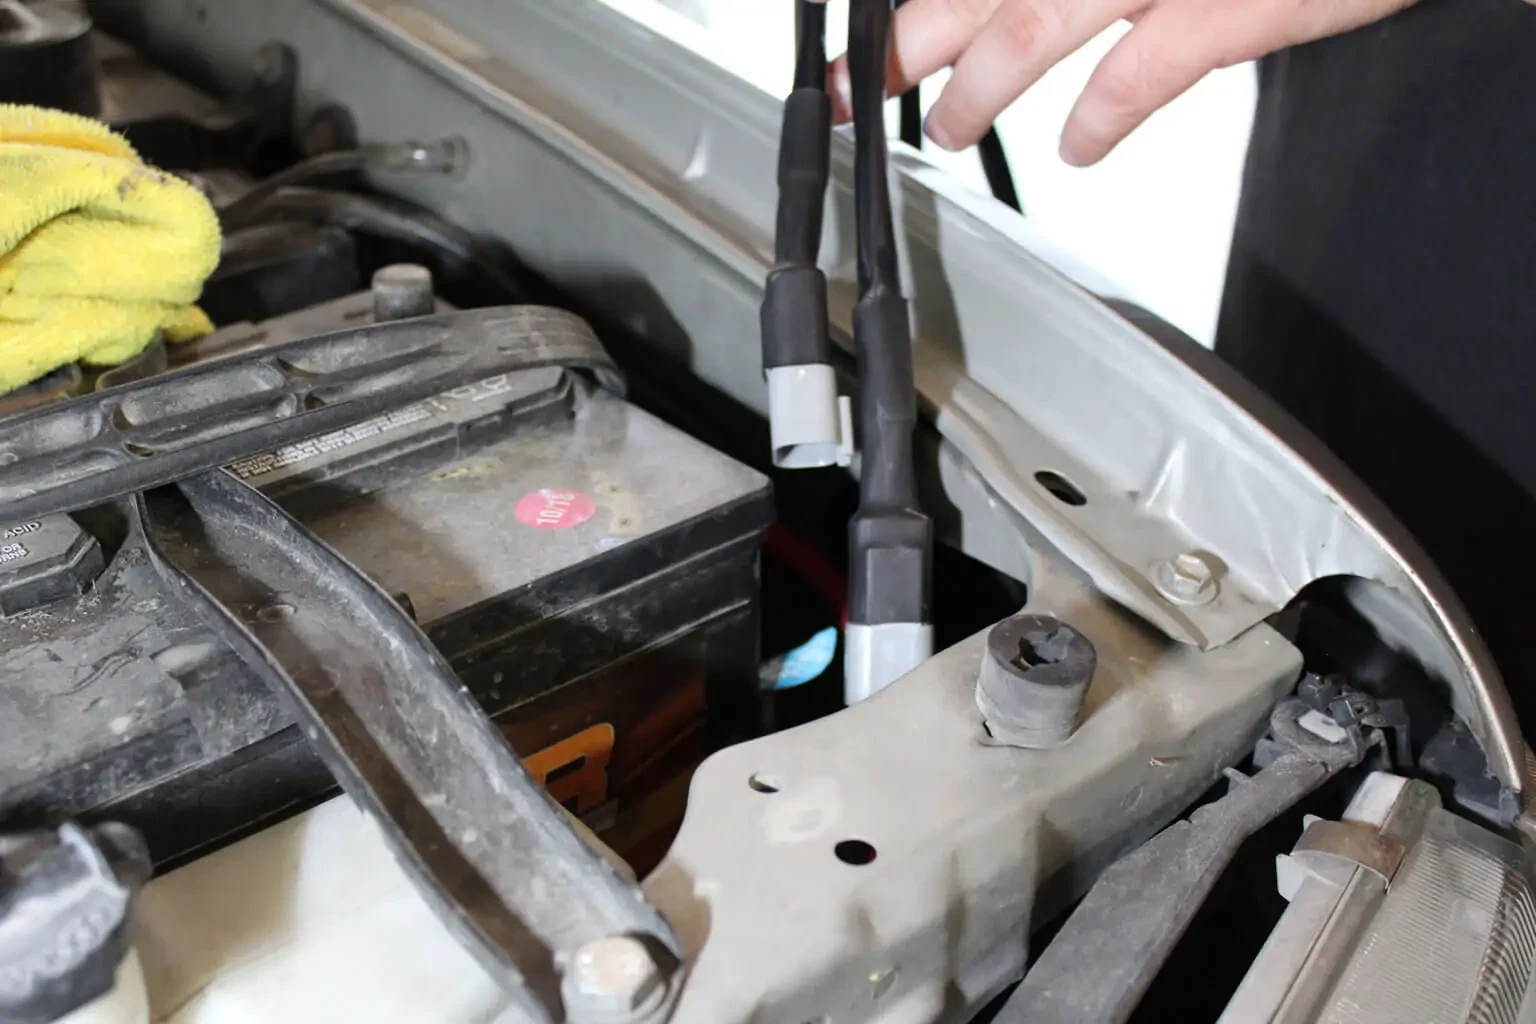
3. Route the main light connectors to the location of the Solis lights. In this case, they are fed through the grill to the front bumper. Connect the driving light connectors to the Solis driving lights.
a. In certain parts of the world, connecting aftermarket lights to your vehicle’s high beams is required by law. If this is not required in your country and you would not like to connect the lights to your headlights, skip to step 7.
b. For CANBUS controlled headlamp vehicles, skip to step 7. Or if you’d like to integrate the Solis lights into your high beam headlights, please reach out to an automotive electrician for assistance.
c. For all negatively switched headlamp vehicles, refer to the included instructions
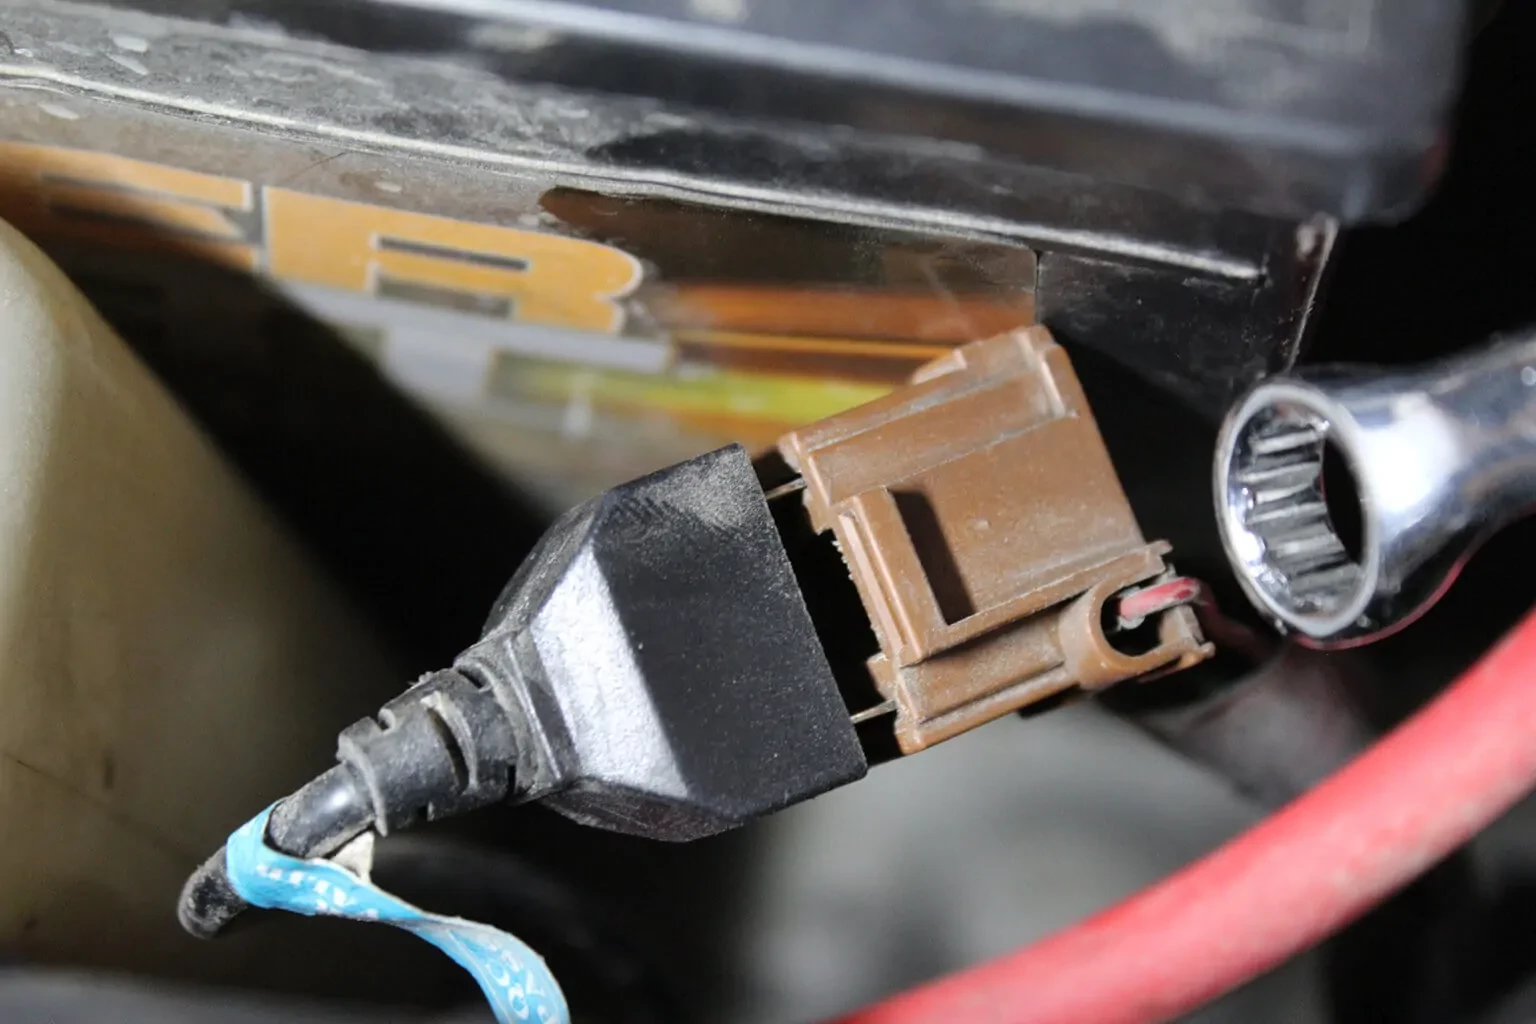
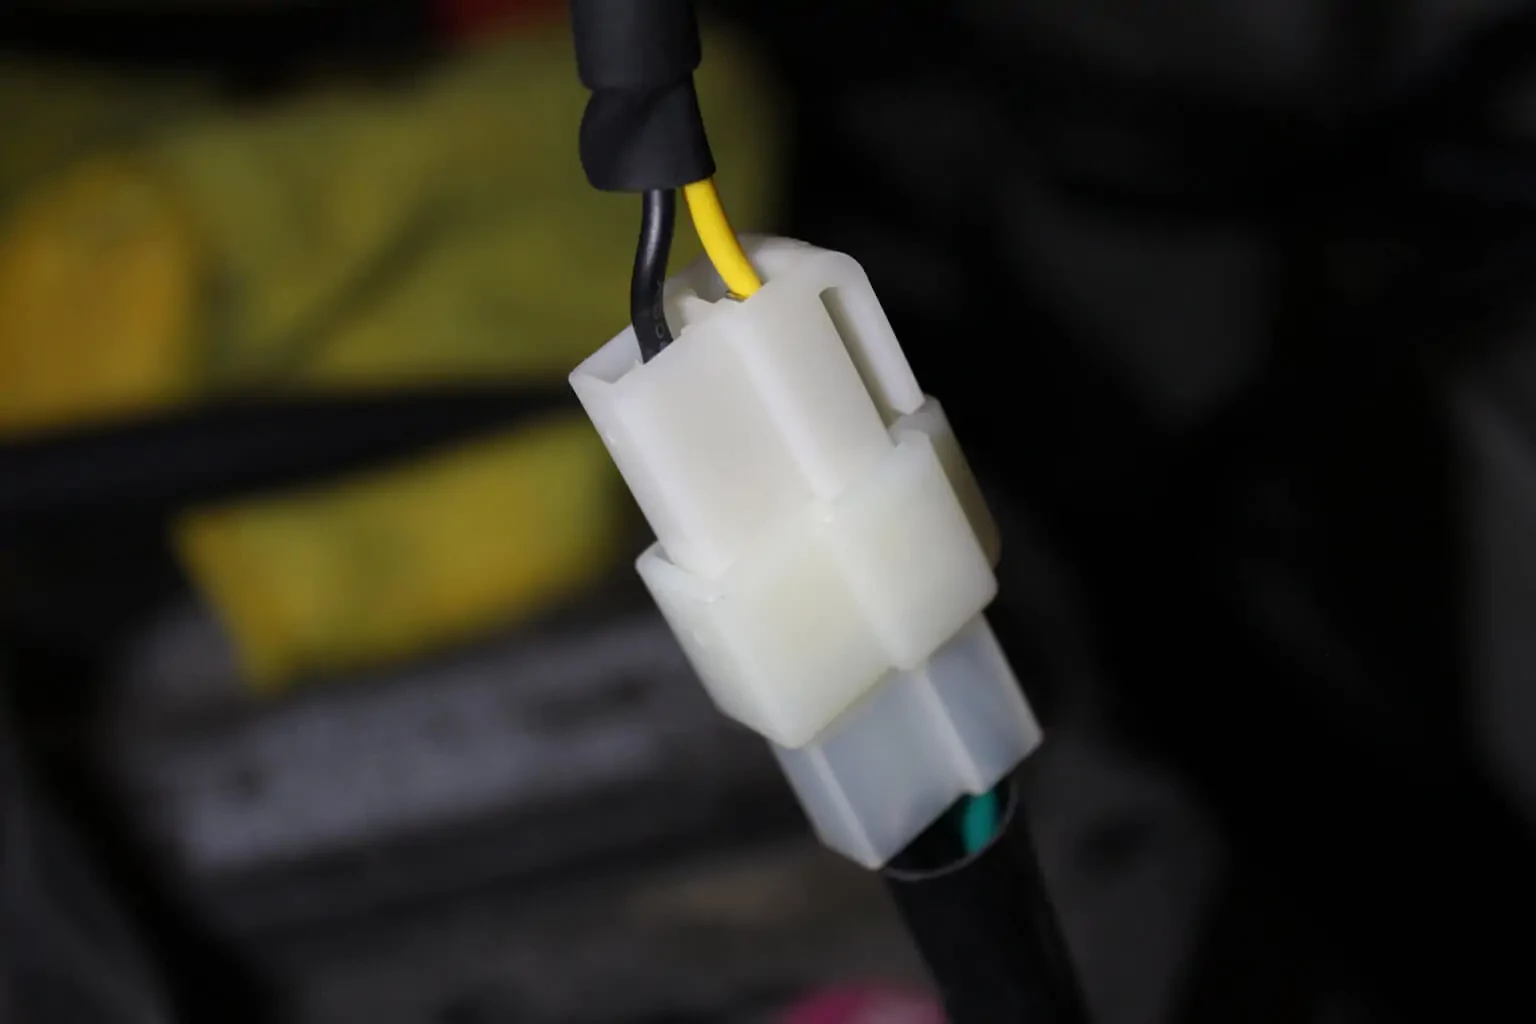
4. Locate the high beam connector.
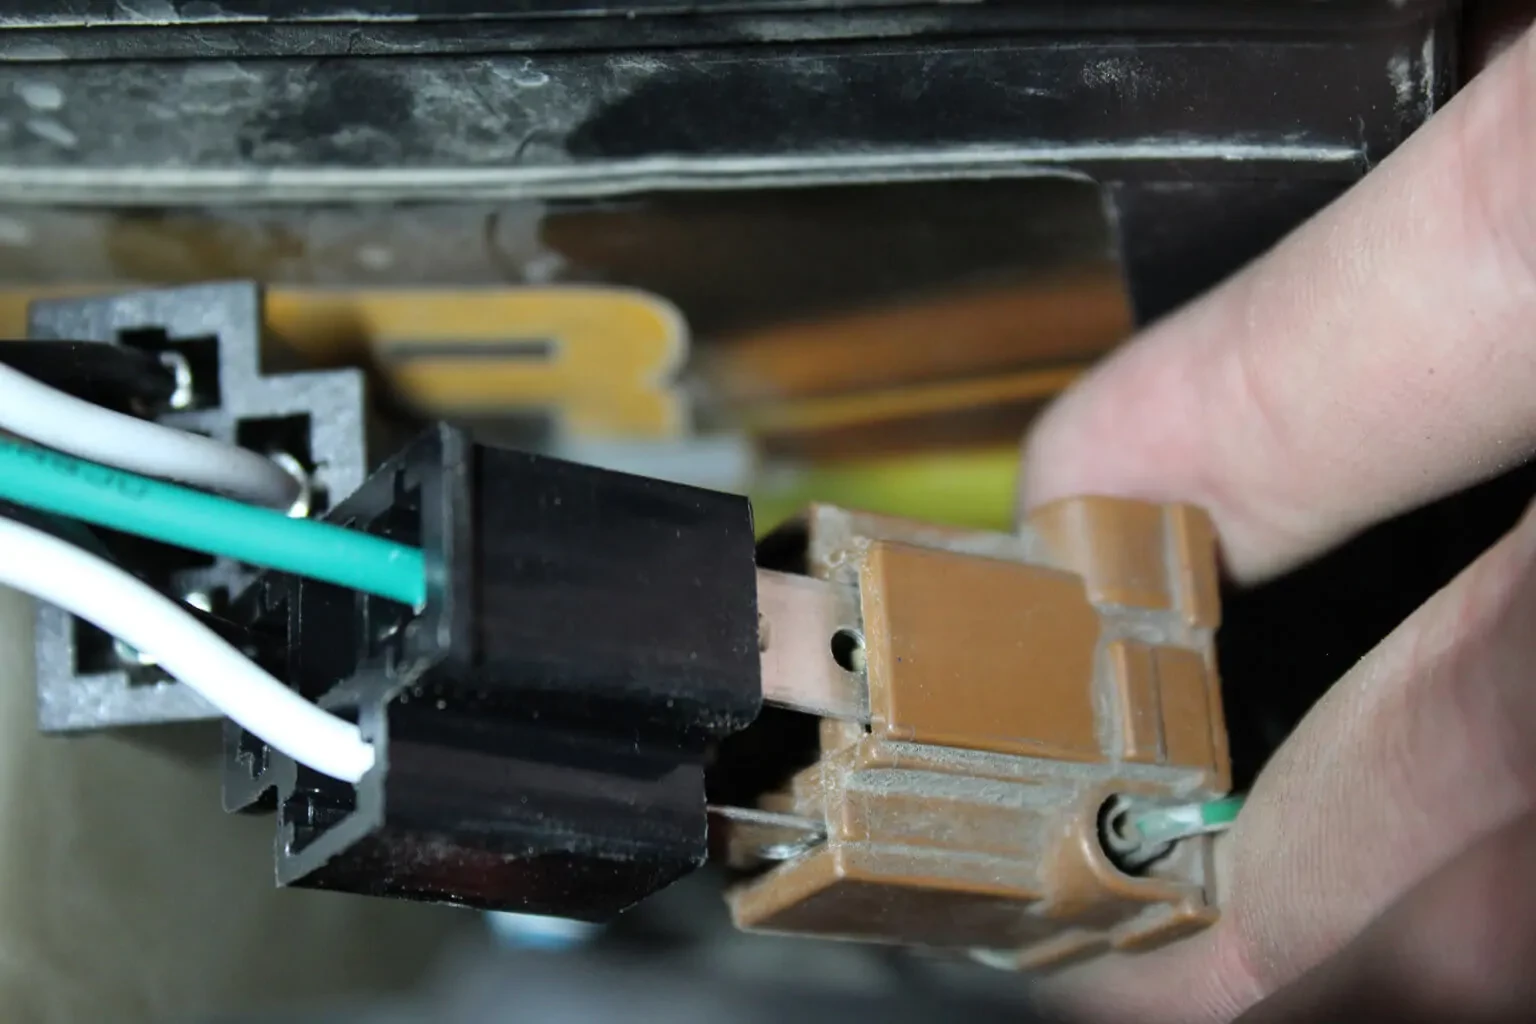
5. Connect H4 or HB3 / HB4 Plug & Play harnesses to the high beam light connector and main harness.

This kit includes H4 and HB3 / HB4 Plug & Play harnesses, if the vehicle headlamps are an alternative to these, complete this step. Otherwise, continue to Step 8.
6. On the main harness, cut and remove the connector from the yellow and black wires. Connect the yellow wire to the vehicle positive high beam wire. Connect the black wire to a suitable earth point on the vehicle body or chassis. Continue to Step 8.
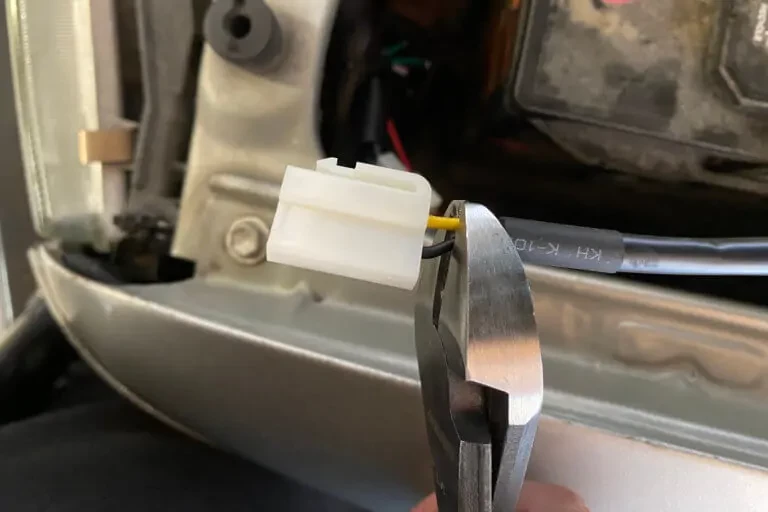
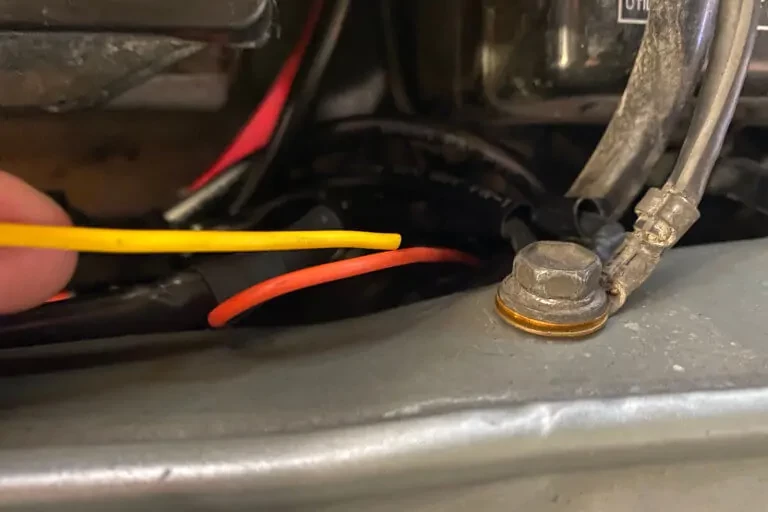
7. If you’d like to bypass the high beam integration, cut the connector off and expose the yellow and black wires. Combine the yellow and coral colored wire (ACC wire) and ground the black wire.
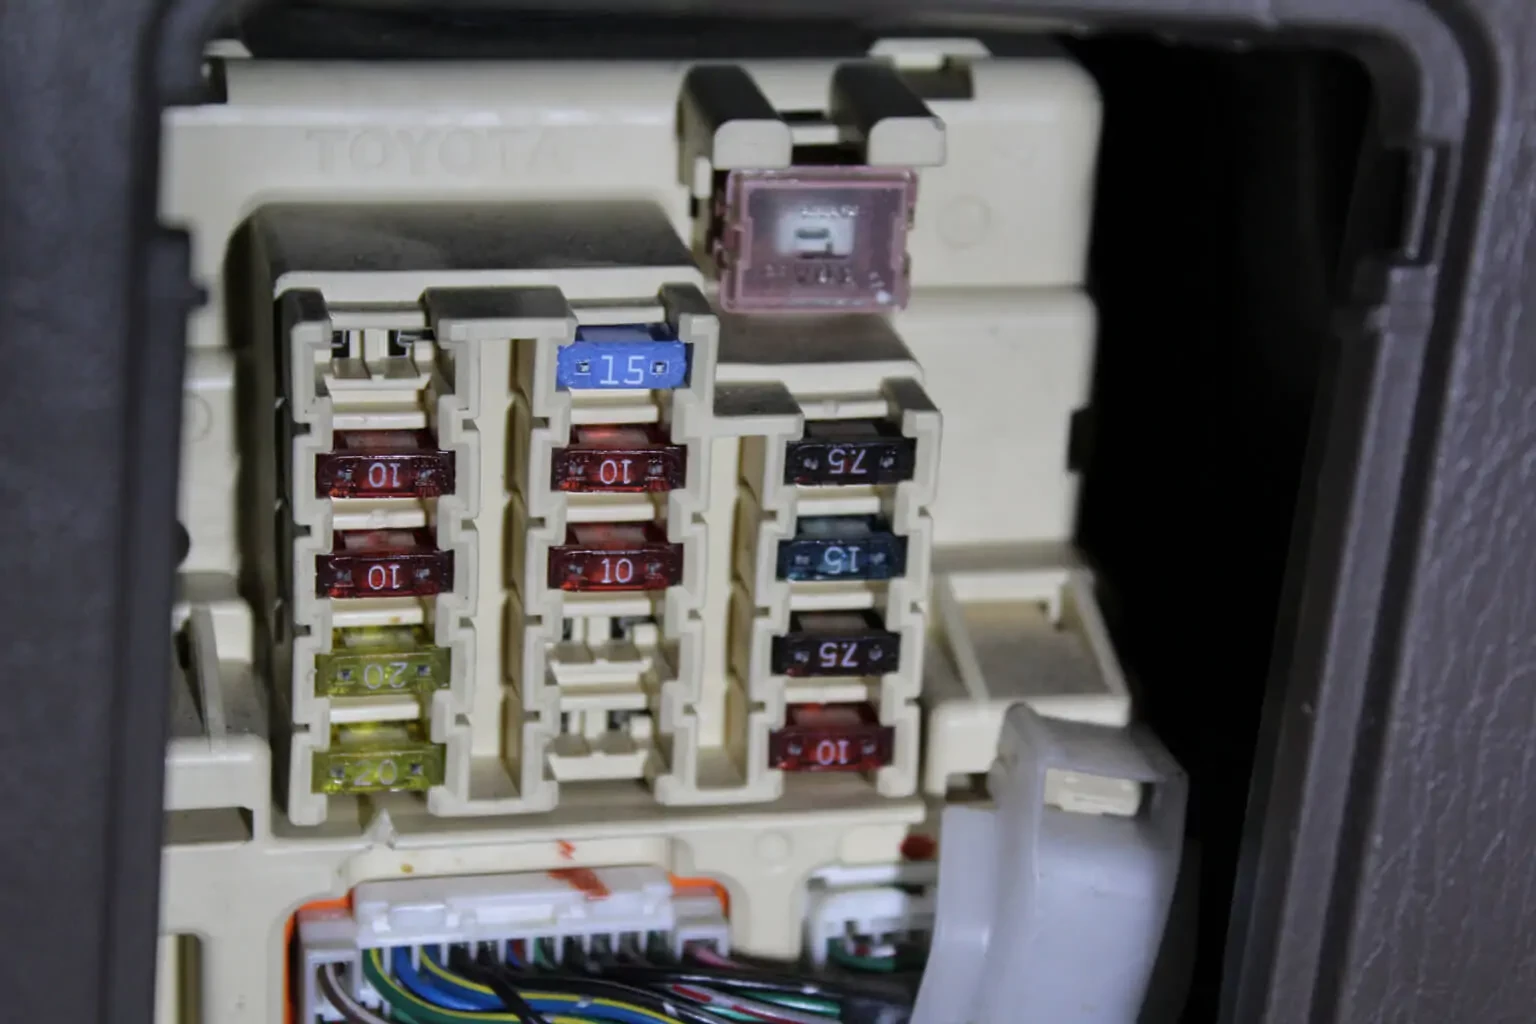
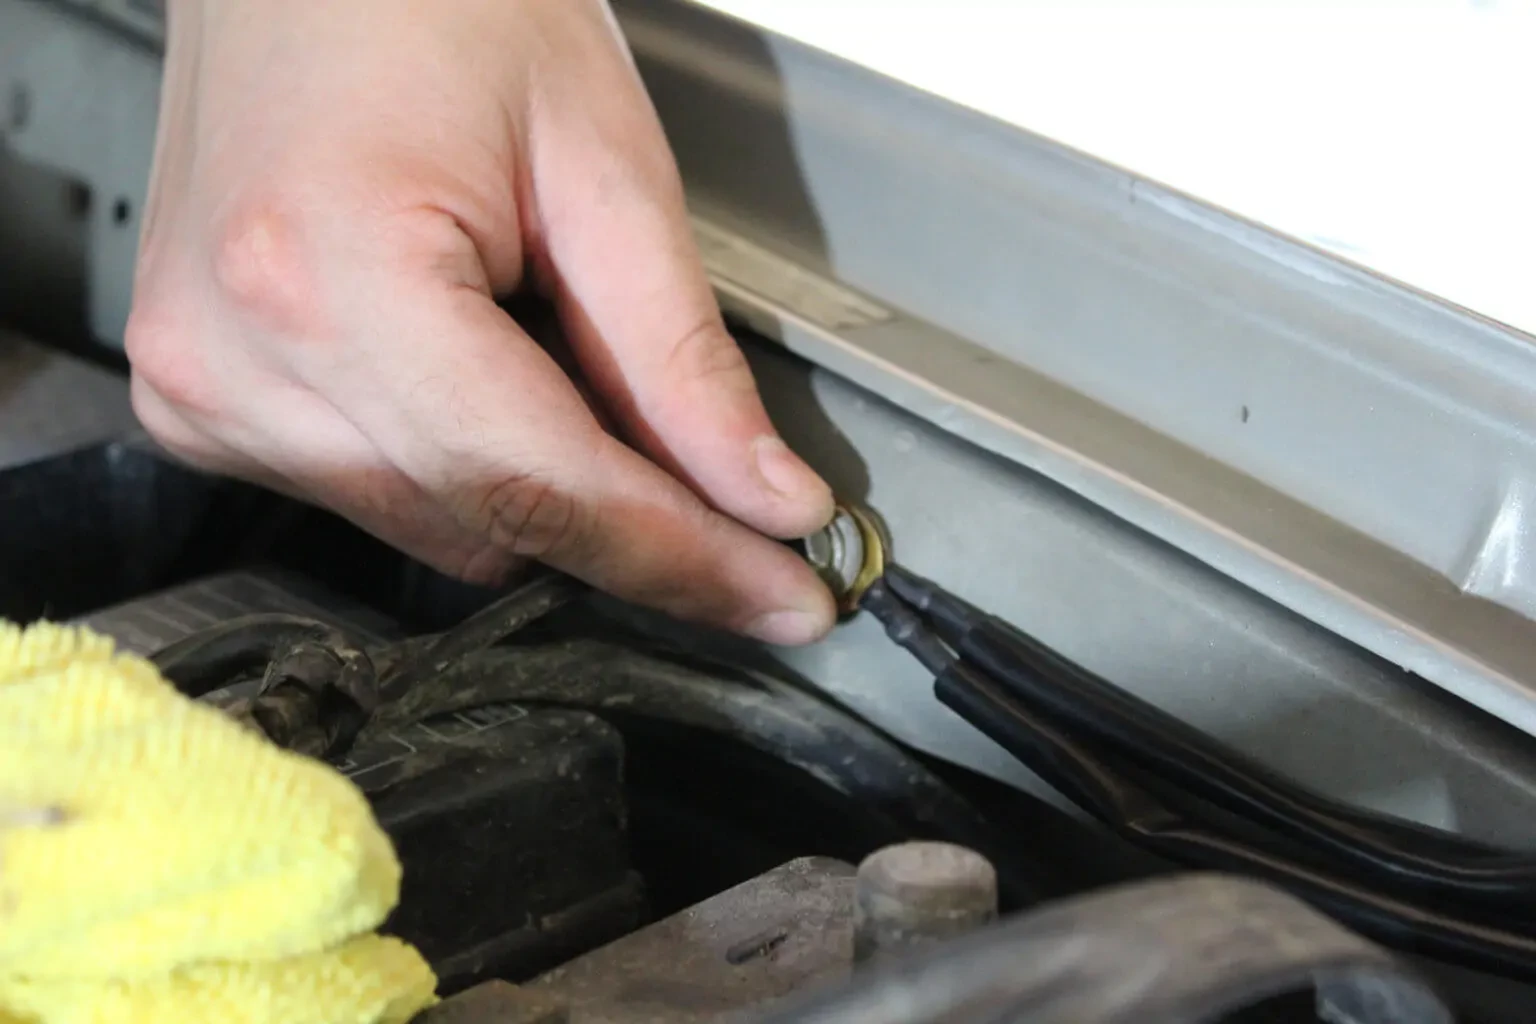
8. Using a multimeter, locate an illumination circuit. A keyed ACC circuit can be used alternatively. We found our circuit in the fuse box.
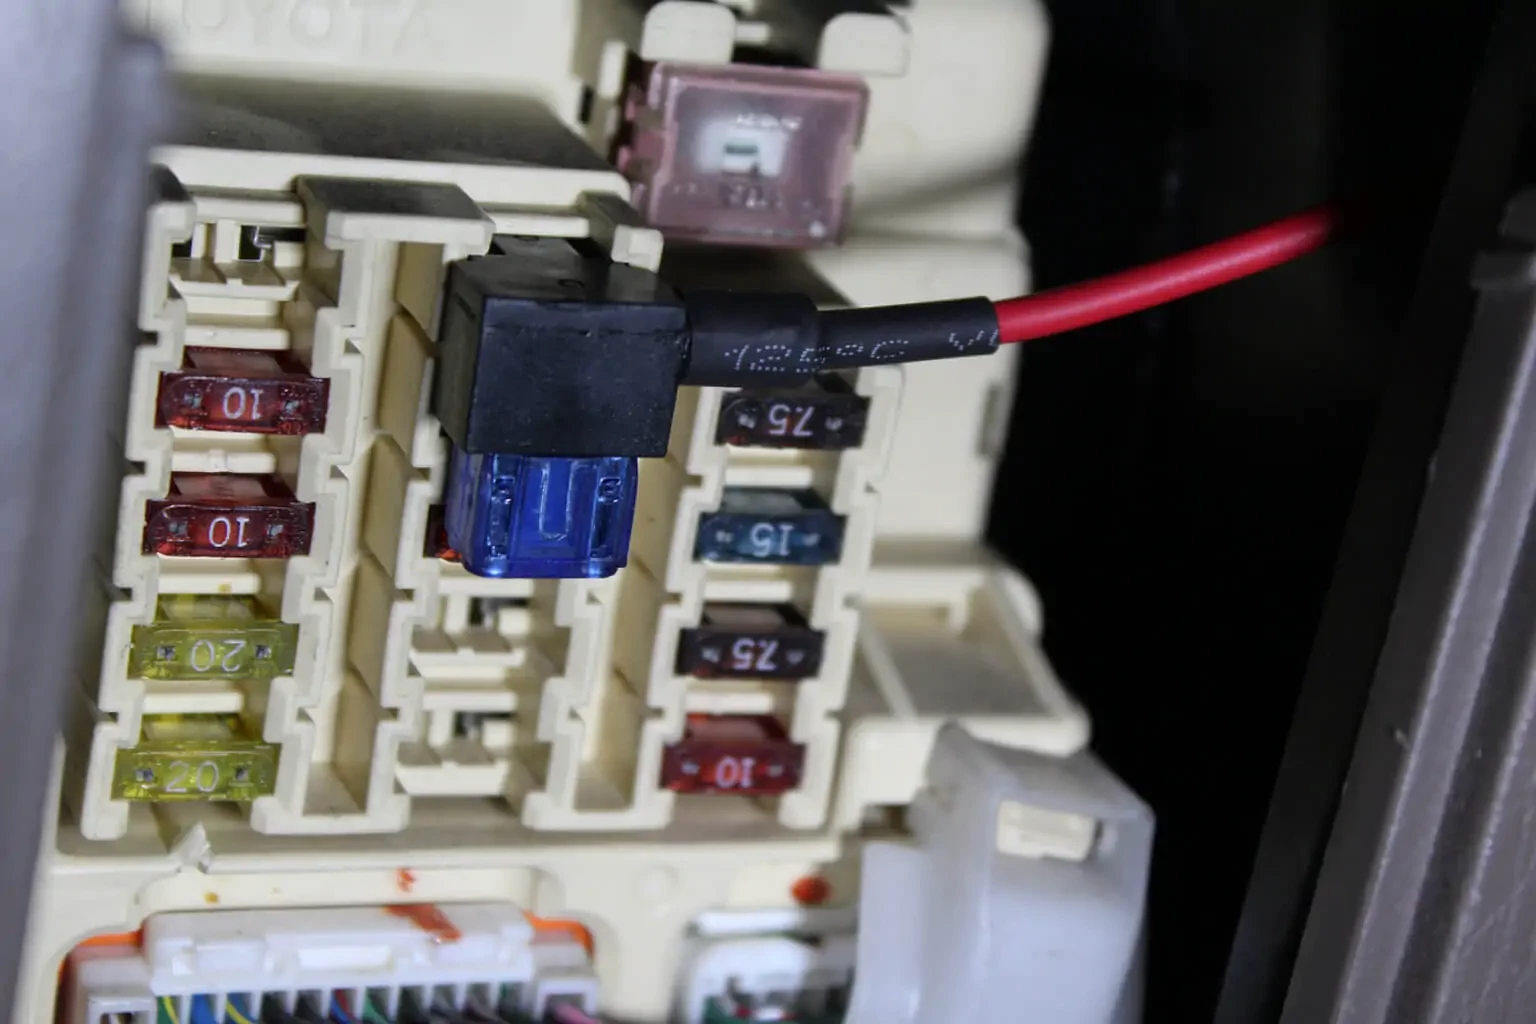
9. Connect the illumination wire (coral colored) to this illumination circuit. We will use fuse tap (ARB #7450119) for this step.
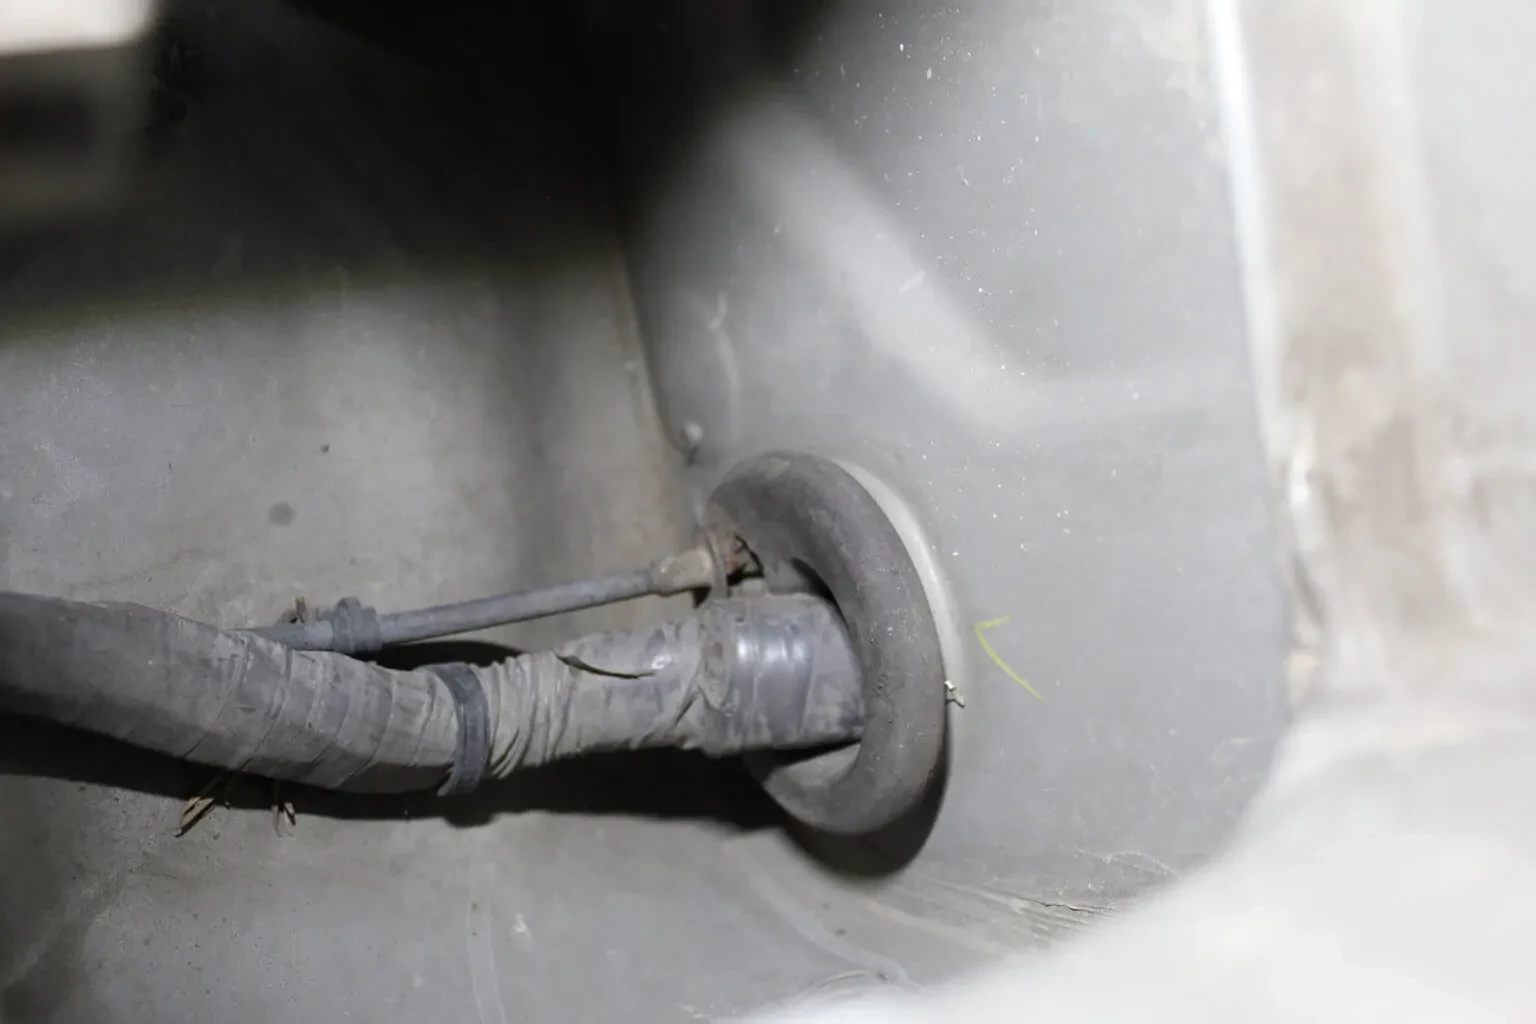
10. Feed the touchpad connector on the main harness through an existing grommet in the firewall and pull through into the vehicle cabin.
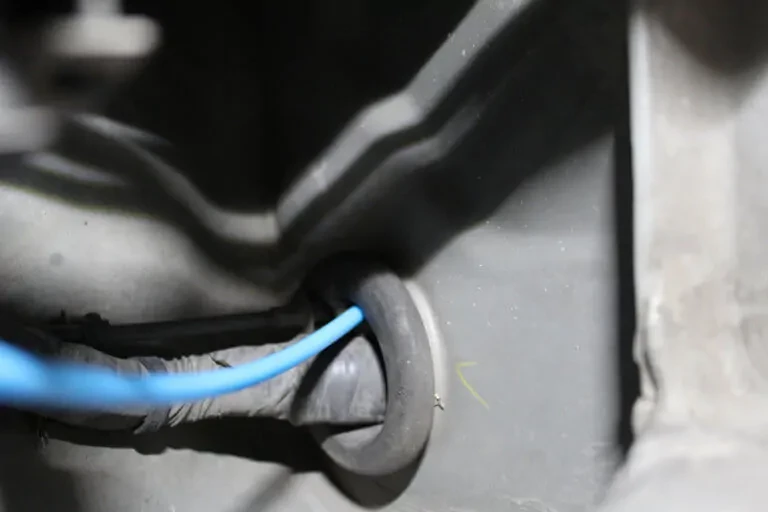
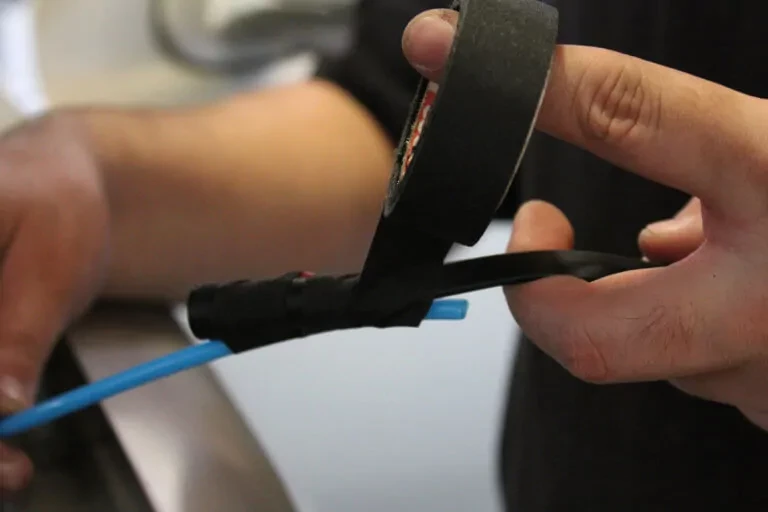
11. To assist with this, it is recommended to use a stiff line or bailing wire to pull the connector through, tail first. If required, apply lubricant.

12. Place the touchpad switch harness in the vehicle cabin and connect to the main harness.
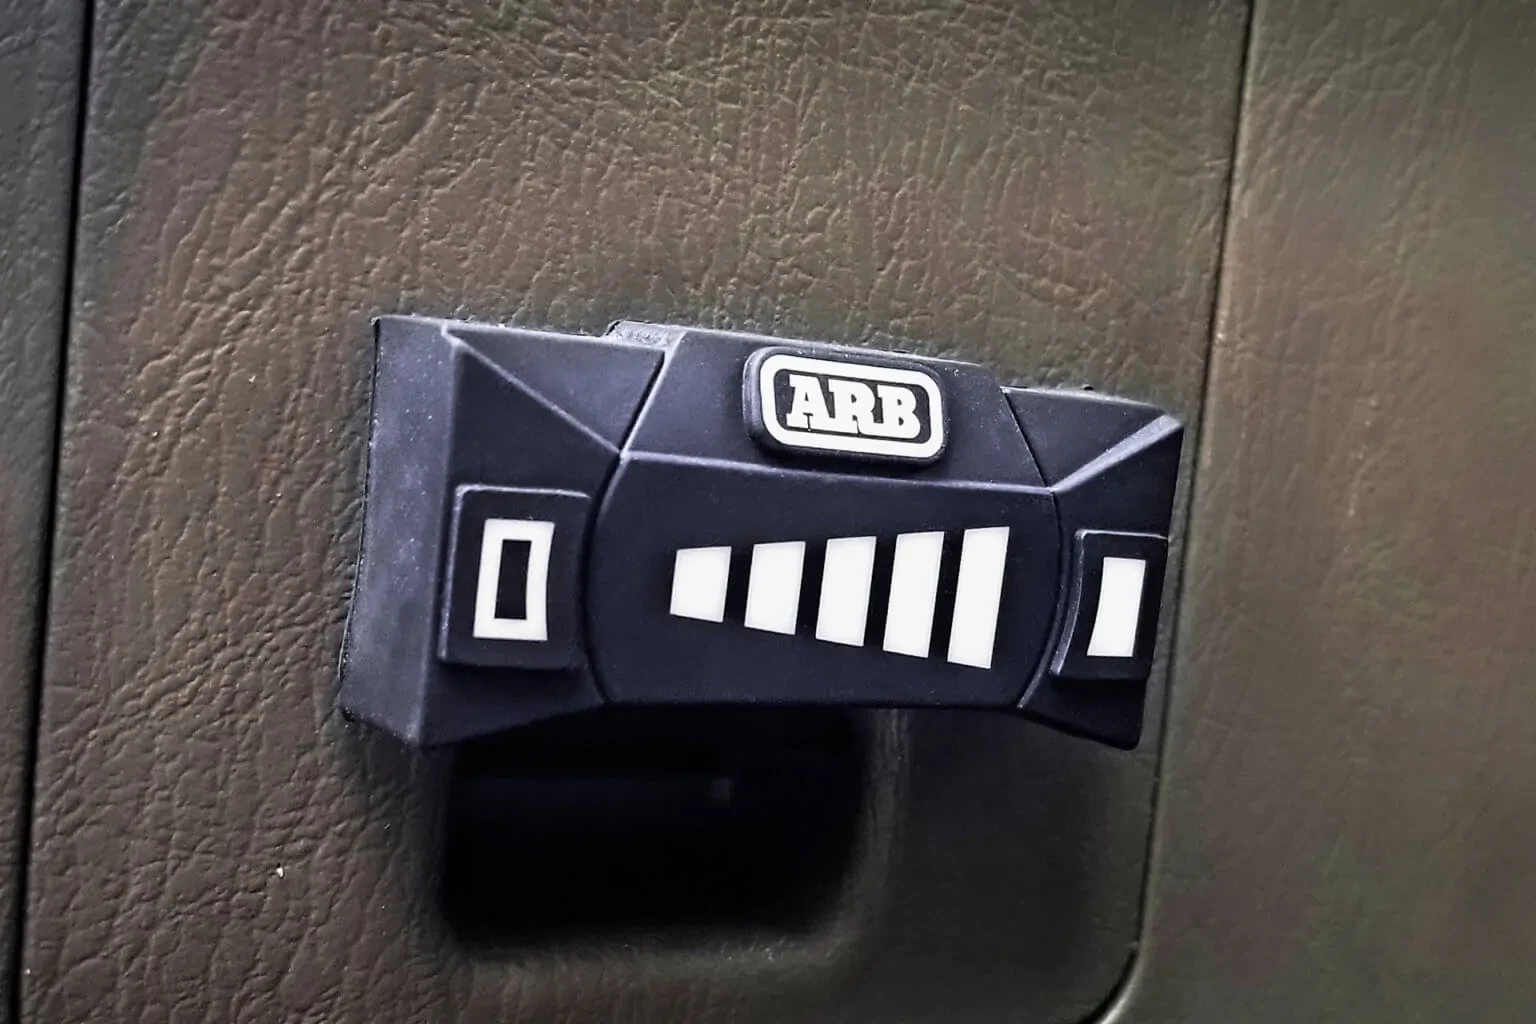
13. Secure the touchpad in a convenient location on the vehicle dashboard.
14. Connect the chassis grounds to a suitable ground point on the vehicle body or chassis. Do not connect directly to the battery negative terminal.
15. Secure all cables, check all connections.

16. Connect the two positive terminals to the battery positive terminal and reconnect the negative (-) cable to the battery.

Up Next:
Performance Lighting Undercover
Amber, black, and clear covers do more than boost aesthetics and enhance protection, each color serves a purpose. Learn up for better visibility...