Edit PageControl Panel

10th November, 2020

Old Man Emu Install Tips

ARBBP51JeepJK0315_Stills_125-3840x1820-2-1920x1080

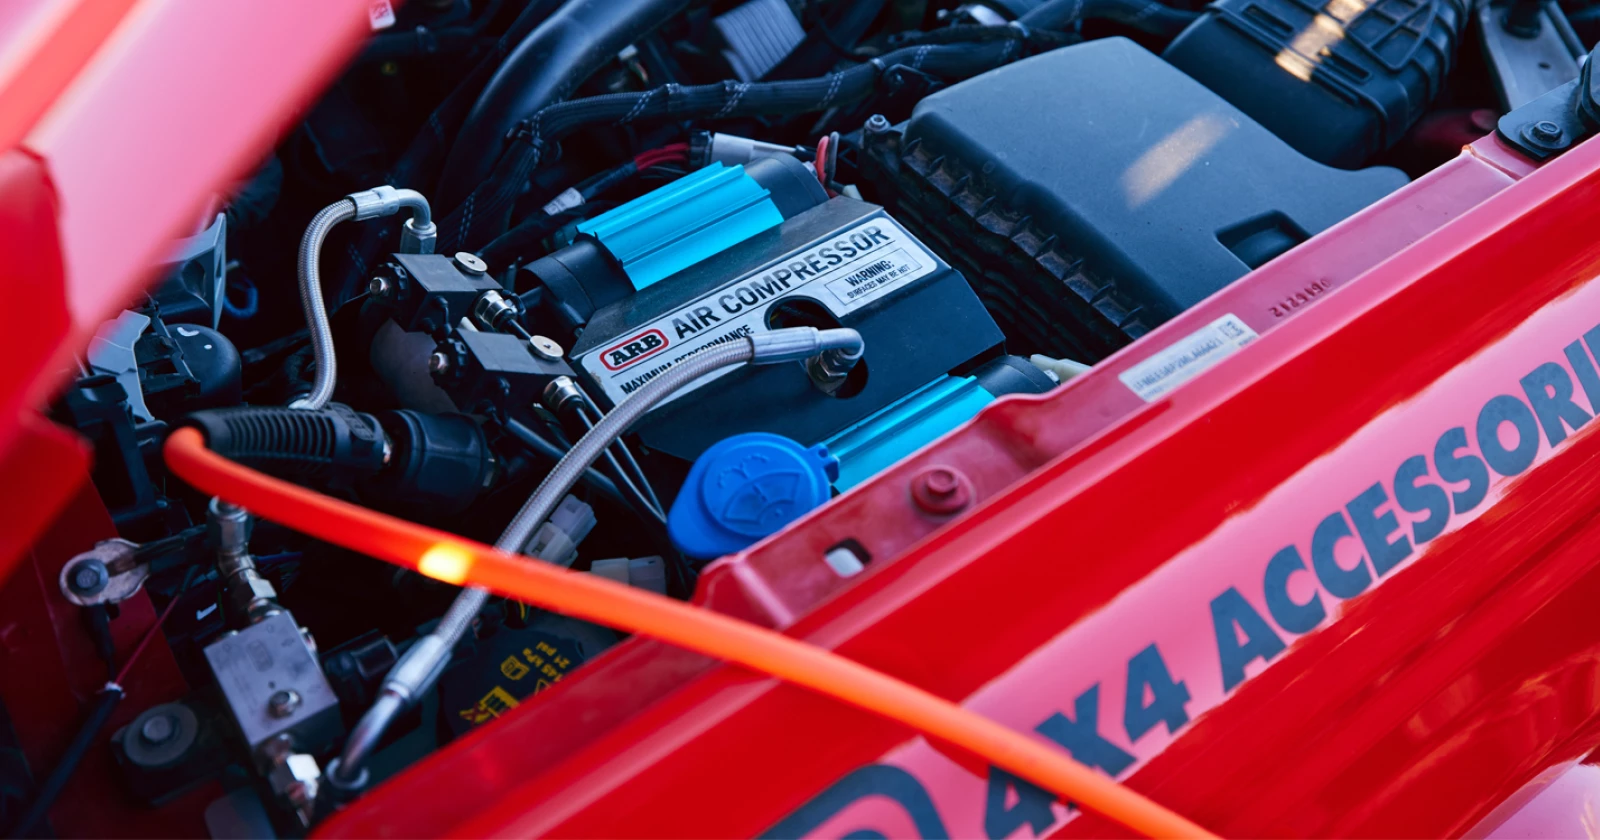
The Old Man Emu suspension range incorporates more than just 4×4 shock absorbers and springs. To deliver the best ride quality, complete  suspension systems are engineered for integration at the highest level complete with bushings, U-bolts, center bolts, spring liners, trim packers, and suspension fitting kits. 

Each Old Man Emu suspension system is precisely designed and engineered to work alongside the vehicle’s factory components. Thus, when selecting an Old Man Emu suspension to upgrade your ride, it is important to understand which parts are required or optional. 

Which Old Man Emu suspension system is best for you? Read the guide >>

Now that you have chosen and ordered your Old Man Emu suspension system, the following will take you through the installation process. 

PRE-INSTALLATION

  1. Before installing your new Old Man Emu suspension components, it is recommended to take initial height measurements at each corner. Measure the distance from the bottom of a flare to the bottom of the wheel rim. This will allow you to track the overall height gained with the new components, along with showing any preexisting lean that might need to be addressed.
  2. Check the ARB Vehicle Application Guide for additional footnotes regarding the installation.
  3. Open each package and ensure that all of the parts have been supplied and correct for your vehicle.
  4. Inspect all suspension mounting points such as shock towers, chassis mounting points, coil seats, top hats, etc. for signs of excessive wear, rust, or damage and replace if needed.
IMG_1388_538x580-538x480

INSTALLATION

  1. Identify component labels
    • Certain Old Man Emu coil and leaf springs are labeled “A” or “B”. In most cases, the “A” springs have a higher free height than the “B” spring. This is designed to compensate for existing lean, driver weight, aftermarket accessories, fuel tank, and weight distribution. Pre-installation measurements will allow for a more accurate A/B spring fitment. All leaf springs will be labeled with either a “+”, “0”, or “-“ which signifies a tolerance of up to 3mm. “0” is exact, “+” is slightly above up to 3mm, “-“ is slightly below up to 3mm. Each spring goes through the proper tests to ensure that they meet the tolerances specified by the Old Man Emu Engineers. All leaf springs will have an arrow marked on the top of the spring. The arrow is meant to point towards the fixed end on the frame opposite of the shackle.
  2. Grease bushings, sleeves, and interleaf liners prior to installation using ARB part number TB1001. Alternatively, 3.0 NLGI classification grease with low percentage loss (3.5% max) to water washout test D1264 will provide the best results. Fit the remaining parts according to the vehicle fitment guide or the provided OME Instructions.
  3. Once the vehicle is on the ground and load is on the suspension, torque the components to the factory specifications unless noted otherwise. OME U-Bolt torque specifications and installation times can be found in the Old Man Emu Guide.
maintenance-2-595x480

POST INSTALLATION

After the suspension has been installed and the vehicle is returned to the ground, check the following and adjust as needed.

  1. Shackle Angles: Ensure they are at least five degrees forward on both the front and rear shackles.
  2. Trim: Measure each corner and ensure the vehicle is within 10mm from the left to right. Install trim packers if needed.
  3. Road test: Check brake performance, steering response, ride quality, and vibrations.
  4. All Wheel Alignment: An alignment must be done ensuring vehicle specifications are within the vehicle manufacturer’s recommendation.
  5. Headlight Alignment: Your vehicle’s headlights will now aim slightly higher. Adjust back to the factory height
ARBNitroChargerSport0209-0027_538x580-538x480

300-MILE CHECK

  1. Visually check all components of the suspension for damage or premature wear.
  2. Physically check and re-torque all bolts and nuts that were removed or loosened to fit the suspension.
  3. Ensure that nothing is contacting brake lines, sway bars, shocks, struts, springs, driveshaft, etc.
  4. Check vehicle heights as the suspension will settle. In general, up to 10mm is acceptable unless additional weight has been added to the vehicle.

For more information please reference the Old Man Emu Guide, contact an ARB Retailer, or browse the online knowledge base.

air_compressors

Up Next:

Install an ARB Compressor - Ford Bronco

Whether you’re a pro or a newbie off-roader, we can all reap the benefits of an onboard air compressor. This invaluable adventure upgrade is easy to install...